Welcome to my fermentation lab
Today I’m going to show you how easy it is to make your own yogurt-style cheese and then use the bi-products to lactoferment fruits and veggies.
Yogurt cheese
Yogurt cheese is similar to Greek yogurt but with an even thicker and richer consistency. It is absolutely delicious and a great substitute for cream cheese. And it is easy to make with any plain yogurt you have on hand.
It is simply created by separating the liquid in the yogurt from the solids. This liquid is called whey and can be used to ferment fruit and veggies and make fermented ketchup or mayo!
Here’s how….
Instructions
Buy some cheese cloth, double layer it and put in a bowl. Dollop in yogurt by the spoonful but don’t overfill (make sure you can tie the cloth into a little sack around the yogurt without any spilling out). You can dollop and test it by gathering it into a little sack to make sure you don’t over fill.
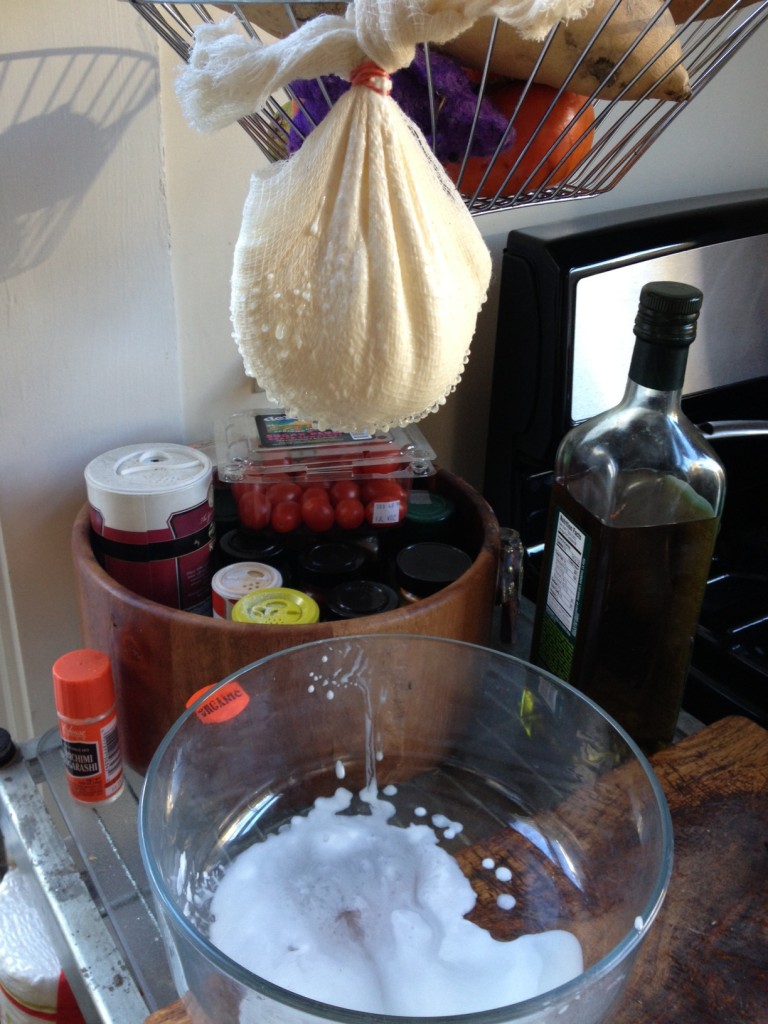
When done gather into a sack (see photo above) and tie the ends with a rubber band. Make sure there is enough cheese cloth above the rubber band to tie to something that’s suspended. Put a bowl underneath to catch the drippings.
If you don’t have anything to hang it on you can put the cheese cloth sack in a colander and put the colander into a larger bowl to catch the whey drippings.
Leave it alone to drip for 12 to 24 hours. If you are using the colander method you can put it in the fridge if you are nervous about leaving it out. However I think it is perfectly safe to leave it out overnight on the counter as the heat will only increase the probiotic power in the yogurt cheese.
After it’s done simply unwrap the cheese cloth and store the yummy “cheese” in your fridge in a glass container. Use it instead of cream cheese or Greek yogurt.
Also refrigerate the whey (liquid drippings) to use for your other fermentation projects. Like for example….
Fermented Apple Sauce
I did not create this recipe. I saw it online and couldn’t wait to get my hands on some whey so I could try it out.
I made my fermented apple sauce using this recipe.
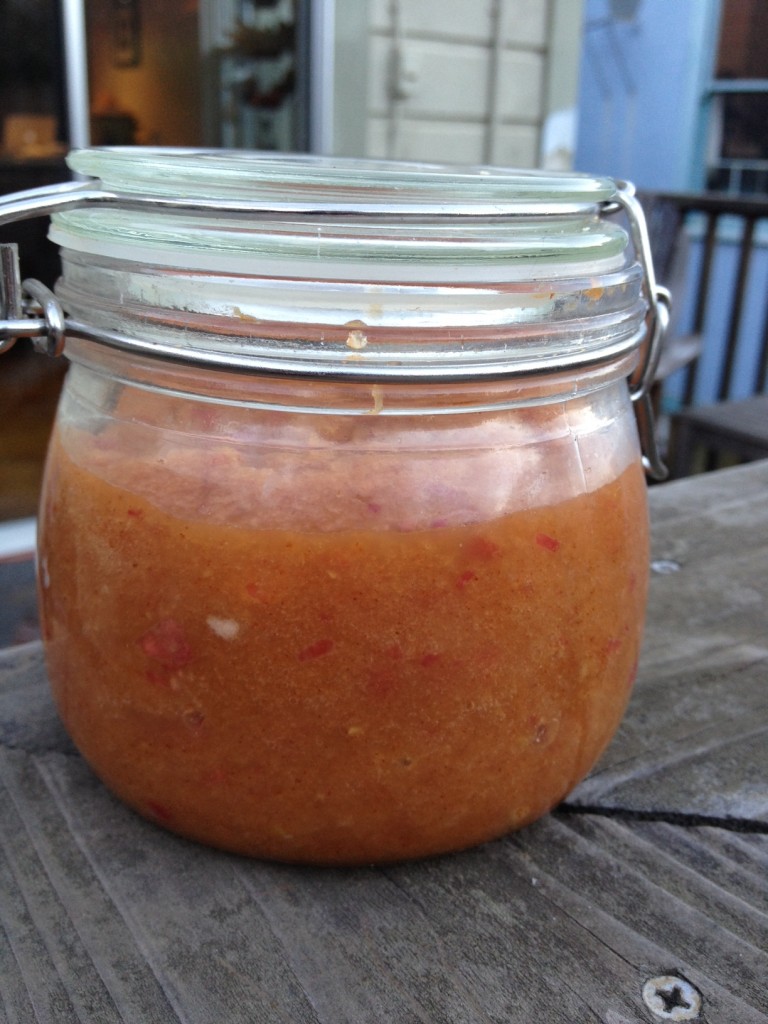
You just process raw apples in a food processor and add 1 tablespoon of whey for every 3 apples you process. You can also add 1/2 teaspoon of salt and 1 teaspoon of cinnamon for every 3 apples.
Mix everything together in the food processor and leave in a sealed glass jar on the counter for 3 days. If room temperature is hotter than 70 degrees, leave on the counter for a little less time. Taste it after the first day to make sure it doesn’t over ferment. If room temperature is colder than 60 degrees you might want to leave it out a little longer.
IMPORTANT: make sure to leave at leave one inch of space between the apple sauce and top of the container!
If you have a sensitivity to apples you can ferment other pureed fruit such as blueberries, strawberries or bananas.
You can also use the whey to ferment veggies like shredded carrots.
Probiotic carrots
How to
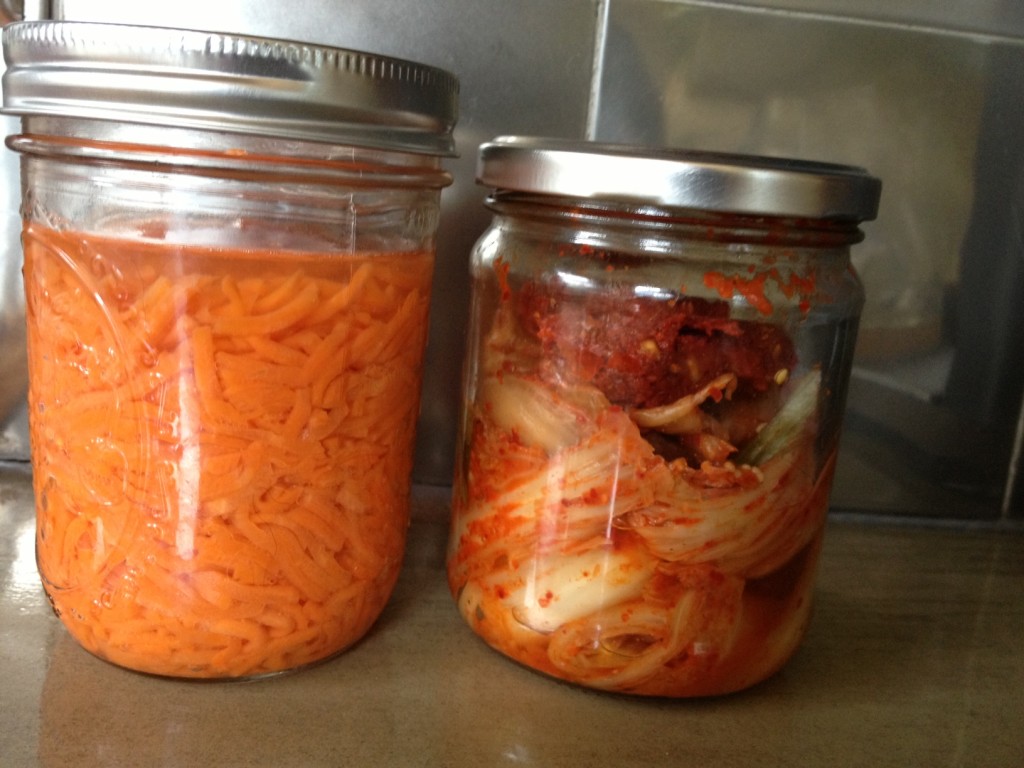
I followed this recipe for the fermented carrots. You use salt and whey, like you do with the apple sauce, except you ferment the carrots in water.
For every 2 to 3 pounds of shredded carrots you mix 2 teaspoons of salt and 1/4 cup of whey into the water. Add in the carrots and make sure they are submerged in water.
Leave on the counter in a glass jar at room temperature for 2 weeks. Feel free to taste it before then to see if it tastes ready. You know it is ready if it has a sour, tangy taste like that of sauerkraut.
Use fermented carrots instead of relish or add them to Paleo cole slaw! Stored in the fridge, they last a long time.
Enjoy your tummy healthy treats! Fermented foods are often expensive to buy but so easy to make at home. And so good for you. They can curb appetite and cravings for sweets, tame inflammation, balance body weight and actually cheer you up! They are that powerful.


